Creating Your UT DocuSign Account
Step 1: Go to http://docusign.utexas.edu
Step 2: Select the LOGIN TO DOCUSIGN link in the upper area of the page.

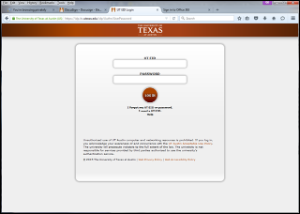
Step 3: Enter your UT EID information & then authenticate with Duo.
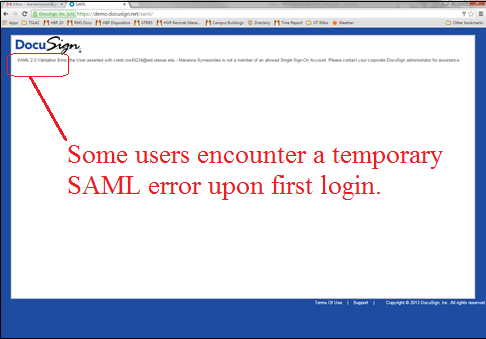
Step 4: If you receive a SAML 2.0 Validation error, clear your browser cache, close your browser, reopen your browser, and start again at http://docusign.utexas.edu
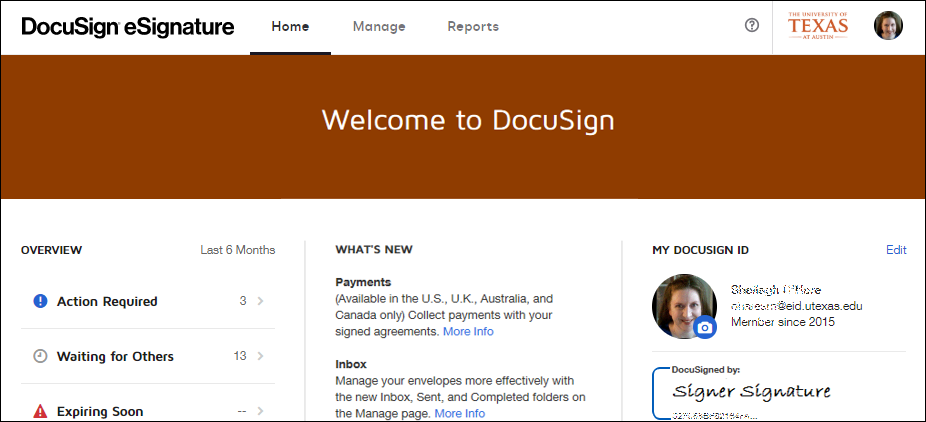
Step 5: The initial login page should appear as follows. It will not have a [New] link.
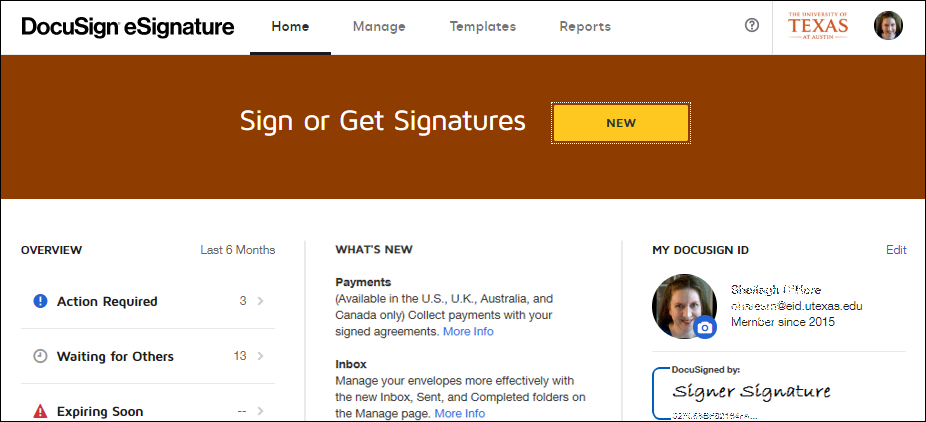
Step 6: Alert your DocuSign Unit Contact (DUC) so that sending permissions can be added to your account, if appropriate. After permissions are updated to allow sending, the [New] button is visible. If you are unaware of who your DUC is, please contact the DocuSign Team at rims@austin.utexas.edu or (512) 232-5647 for assistance.
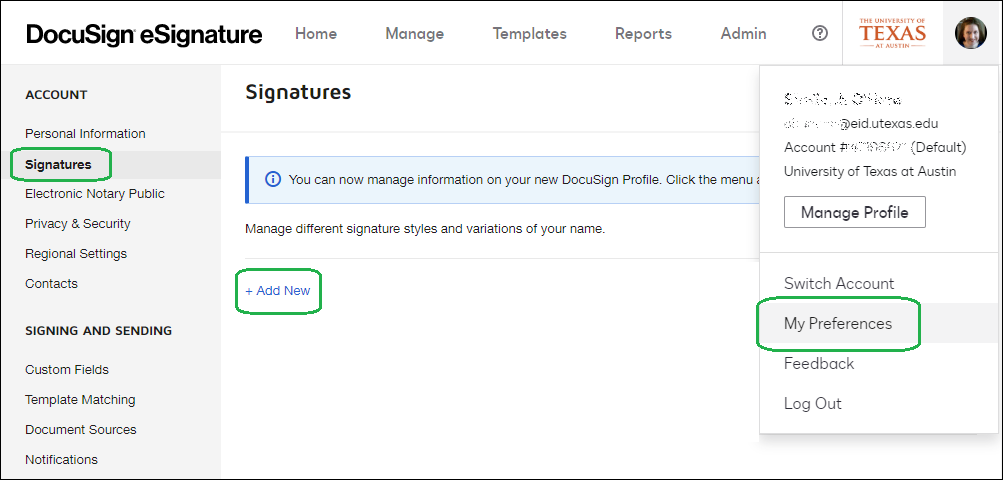
Step 7: To update your signature, select [My Preferences] from the dropdown link in the upper right corner of the DocuSign interface and then select [Signatures] from the left panel.
Step 8: Bookmark http://docusign.utexas.edu for future logins.